


Alright folks, today I'm gonna share with you how to install the vacuum gauge in a vacuum oven. As a supplier of link text: Vacuum Oven, I've seen my fair share of installs and troubleshooting. So, let's dive right in.
Why Install a Vacuum Gauge?
First off, you might be wondering why you even need a vacuum gauge in your vacuum oven. Well, it's essential for monitoring the vacuum level inside the oven. This helps you ensure that your oven is operating at the right pressure for your specific application. Whether you're drying materials, outgassing samples, or performing other processes that require a controlled vacuum environment, the gauge gives you real - time feedback on how well the oven is maintaining the vacuum.
Tools You'll Need
Before you start the installation process, gather the necessary tools. You'll need a couple of basic tools:
- A wrench or socket set to secure the gauge properly.
- Sealant tape. This is crucial to prevent any air leaks around the connection points.
- A screwdriver, which might come in handy if your gauge has additional mounting brackets or covers.
Step 1: Safety First
Safety is always the top priority. Make sure your vacuum oven is turned off and unplugged before you start any installation work. This prevents any risk of electrical shock or accidental activation of the oven during the install.
Step 2: Choose the Right Location
The location where you install the vacuum gauge is important. You want to choose a spot on the oven where it's easily visible but also away from any moving parts, hot surfaces, or areas that could be blocked by materials inside the oven. A common location is on the front panel of the oven, near the control area. This way, you can easily check the vacuum level while adjusting the oven settings.

Step 3: Prepare the Connection Point
Once you've chosen the location, it's time to prepare the connection point on the oven. If there's already a pre - drilled hole for the gauge, use your wrench to clean any burrs or debris from the hole. If not, you'll need to drill a hole of the appropriate size for the gauge. Make sure to measure twice and drill once to avoid making mistakes.
Step 4: Apply Sealant Tape
Take your sealant tape and wrap it around the threads of the vacuum gauge. This helps create an air - tight seal between the gauge and the oven. Wrap the tape in a clockwise direction, making sure it's evenly distributed around the threads. You should have about 3 - 4 layers of tape for a good seal.
Step 5: Install the Vacuum Gauge
Now, it's time to install the gauge. Carefully insert the gauge into the prepared hole on the oven. Use your wrench to tighten the gauge gently but firmly. Be careful not to over - tighten, as this could damage the gauge or the oven's connection point. You want it to be snug enough to prevent air leaks but not so tight that you crack the gauge or strip the threads.
Step 6: Check for Leaks
Once the gauge is installed, it's crucial to check for air leaks. Plug in the oven and turn it on to start creating a vacuum. Watch the gauge to see if the pressure starts to drop as expected. If the pressure doesn't drop or drops very slowly, there might be a leak. You can use a soapy water solution to check for leaks. Apply the solution around the connection point of the gauge. If you see bubbles forming, there's a leak. Tighten the gauge a little more or check the sealant tape and re - apply if necessary.
Step 7: Calibrate the Gauge
After you've confirmed that there are no leaks, you'll need to calibrate the vacuum gauge. This ensures that the readings on the gauge are accurate. Most vacuum gauges come with instructions on how to calibrate them. It usually involves adjusting a small screw or knob on the gauge while the oven is at a known vacuum level. You can find the calibration values in the gauge's manual or the oven's specifications.
Tips and Tricks
- When choosing a vacuum gauge, make sure it's compatible with your vacuum oven. Different ovens have different pressure ranges, and you need a gauge that can accurately measure that range.
- If you're not confident in your installation skills, don't hesitate to contact a professional. It's better to get it done right the first time than to deal with issues later.
- Keep an eye on the gauge during regular use. If you notice any sudden changes in the readings, it could indicate a problem with the oven or the gauge itself.
Other Related Products
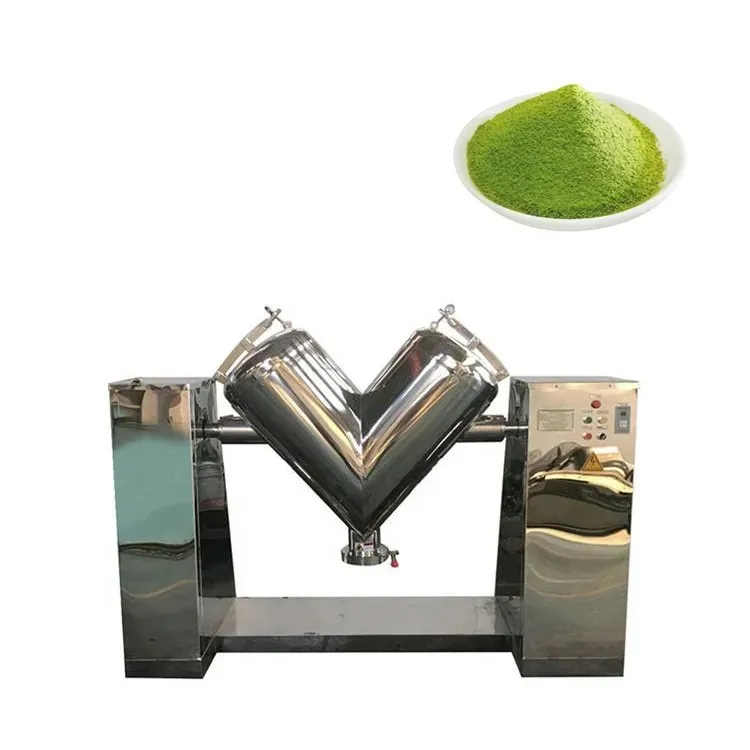
We also offer other great products that might interest you, like link text: Rotary Cone Vacuum Dryer. This dryer is perfect for drying heat - sensitive materials under vacuum conditions. And if you're in the market for a powder mixing solution, our link text: Industrial V Style Powder Mixer Machine is a top - notch choice.
Conclusion
Installing a vacuum gauge in your vacuum oven is a relatively straightforward process if you follow the steps carefully. It's an important addition that can greatly enhance the performance and safety of your oven. If you're thinking about purchasing a vacuum oven or need any related accessories, we're here to help. Whether you have questions about installation, calibration, or just want to learn more about our products, feel free to reach out. Let's have a chat about how we can meet your specific needs.
References
- Vacuum Oven User Manuals
- Vacuum Gauge Manufacturer's Instructions